In the last Game Dev update I mentioned that a next step would be to create the NFT collection. It had been about a year since I last set up a collection on WAX’s blockchain, and things have changed so it’s probably a good time to write up a new guide for creators. You don’t need to use AtomicHub to create a collection, NeftyBlocks and NFTHive also have their own tools that function more or less the same way AtomicHub does. AtomicHub is just the oldest and the one I’m most comfortable with.

First you’re going to want to go to AtomicHub’s website (https://wax.atomichub.io/). Note the WAX in the address. AtomicHub is a multi-chain NFT market – they also support EOS and IMX. Once there, connect your wallet and click NFT Creator from the menu bar.

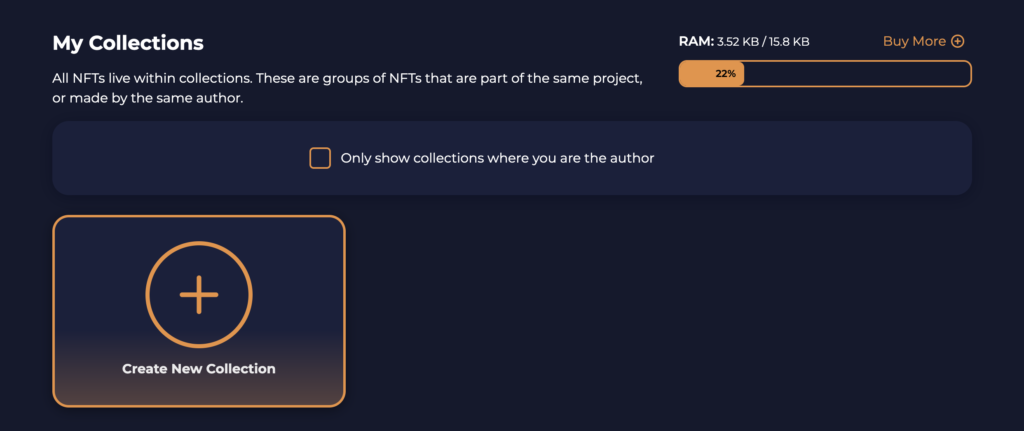
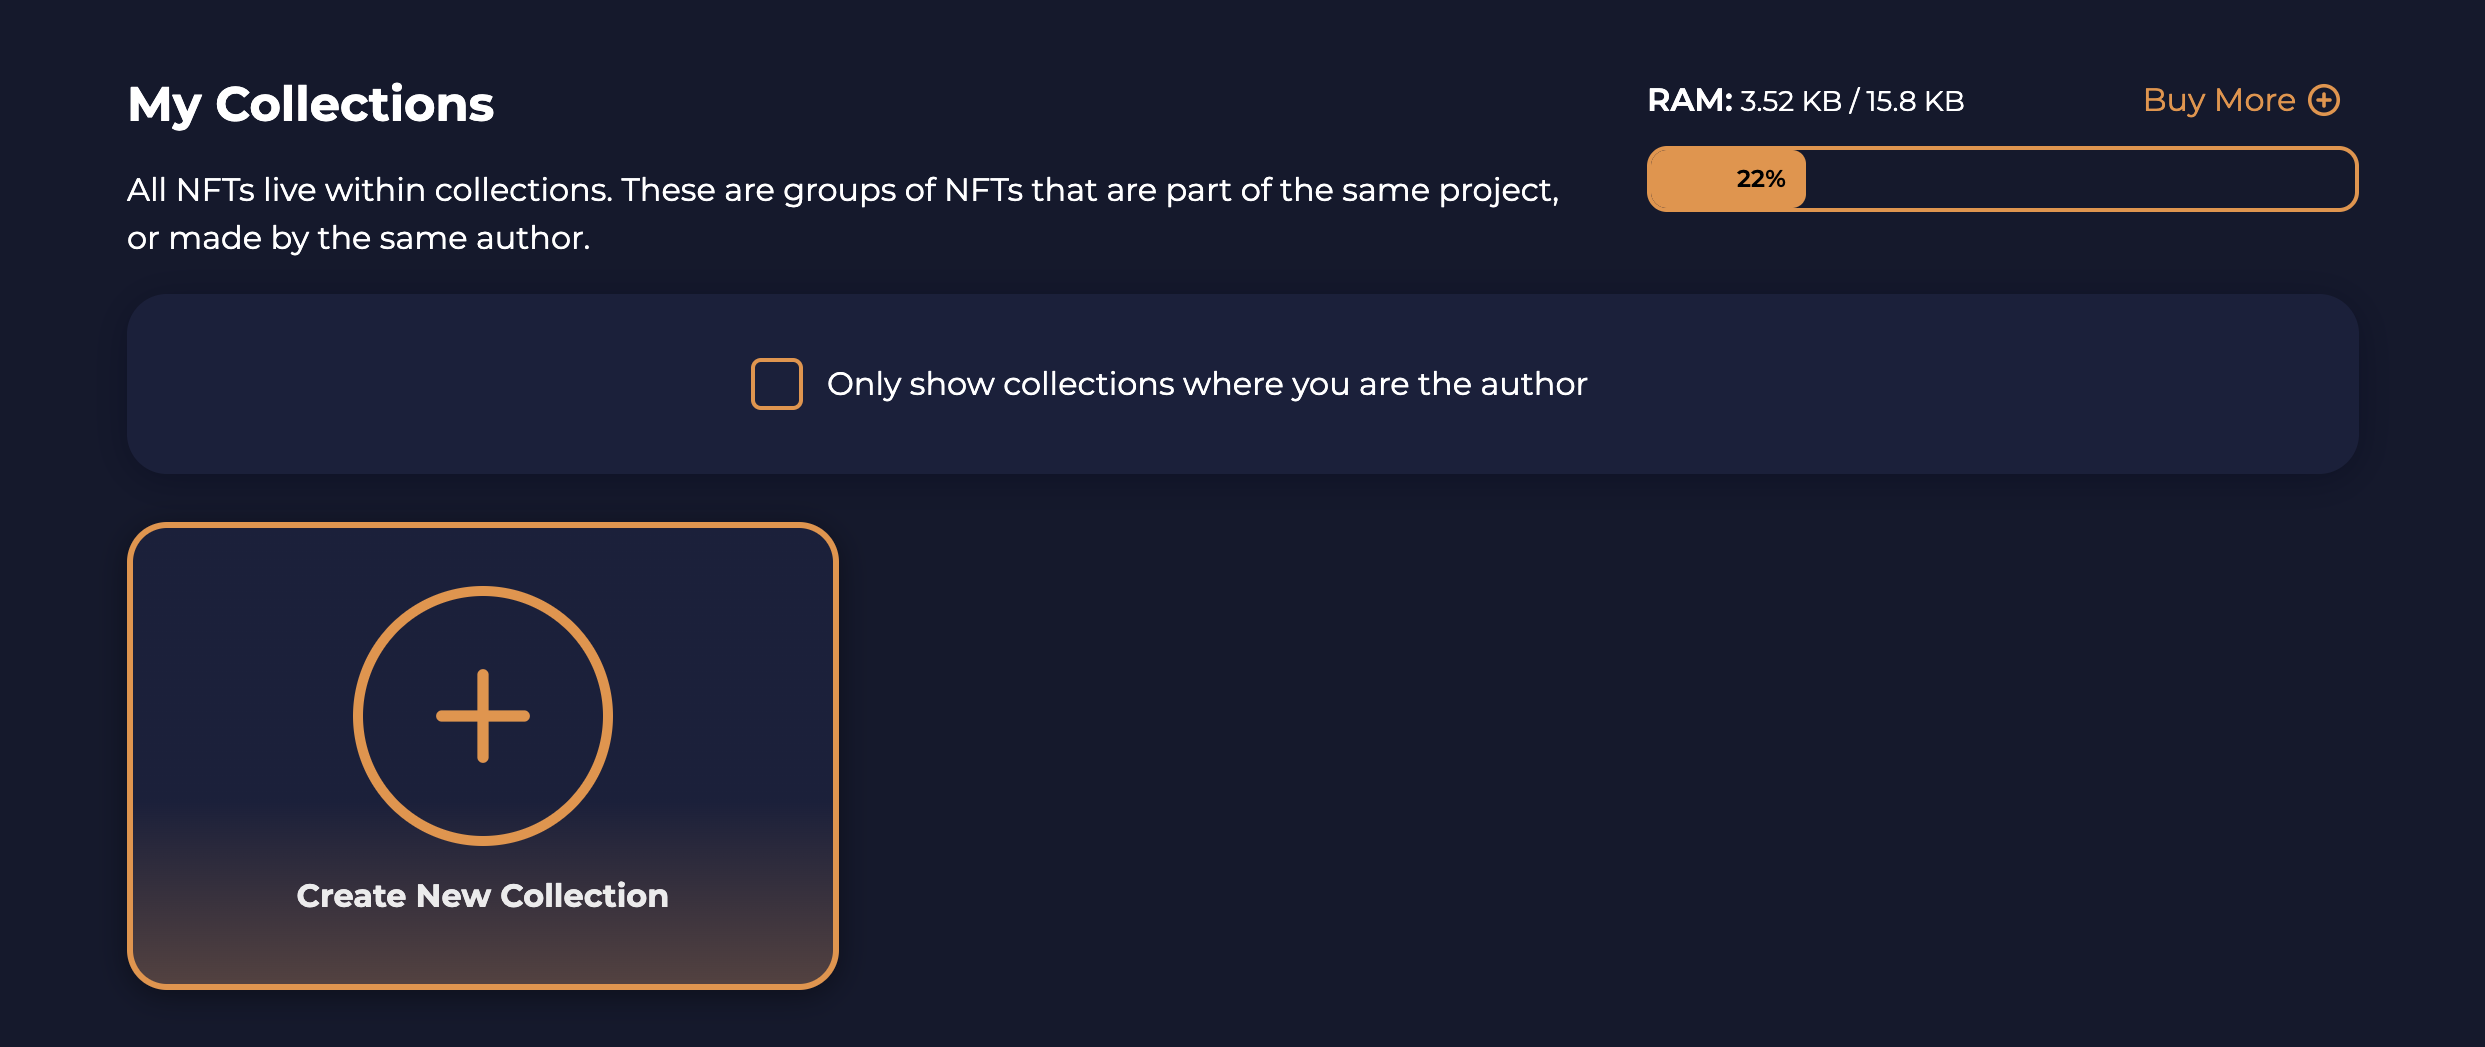
That’s going to bring you to the “My Collections” page – it will be empty aside from the big “Create New Collection” button. Go ahead and click that.

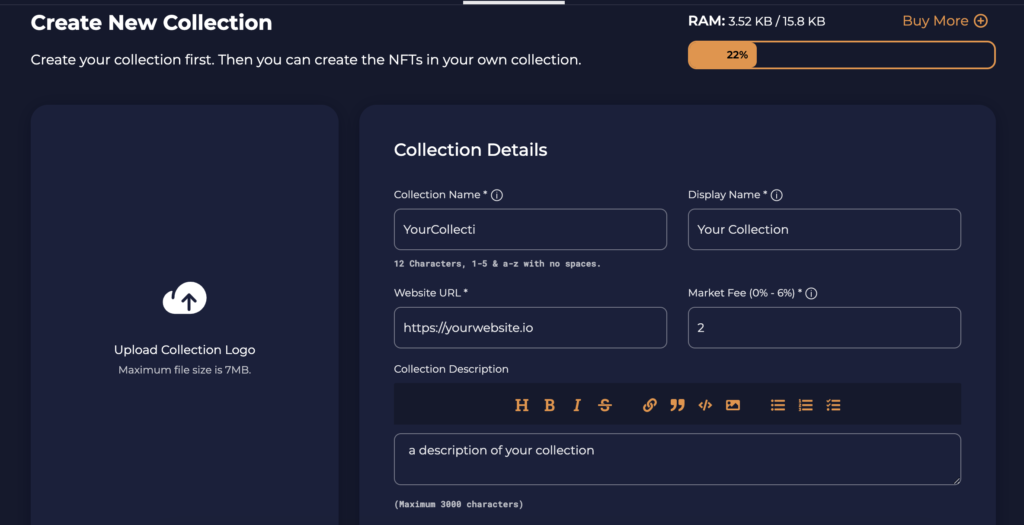
That’s going to bring you to a screen where you’ll input your required information. You will need a 12-character collection name with no spaces, a display name which will be displayed in the market pages, and a website URL. The Market Fee is a tax to the seller in a secondary sale. For example if a person lists and sells an NFT for 100 WAX, the buyer pays 100 WAX but the seller receives a percentage less. A small percentage will go to the marketplace, and another percentage will go to the collection owner (you). The Market Fee should be pre-filled for you, but change it to whatever your project requires from 0%-6%. You can increase that percentage further on other marketplaces, but I personally think 5% is fair most of the time.
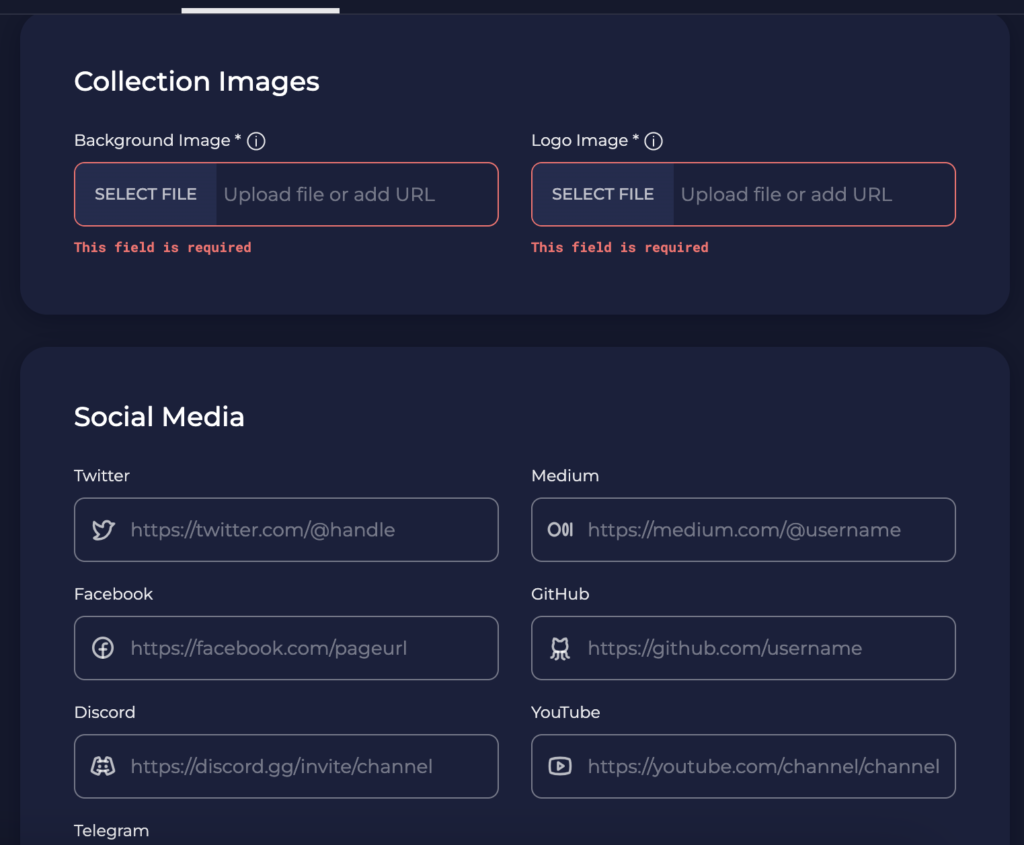
Next you’ll be required to have a Background Image and a Logo Image. The background image is a typical banner size and should be 1920×500 pixels – there is an easy crop tool once you upload the image if it’s not quite right. This image sits at the top of your market info page. The logo image should be 512×512 and is used as a display image in the market.

The rest of the items are pretty much optional. You’ll see your wallet address there as an authorized account. If you want or need to add any other accounts to be able to edit this collection, this is where you can add those addresses. If you want to use tools on other websites like NeftyBlocks, you’ll probably just give access with a transaction when you go to use them. Keep in mind that most of this information you’re putting in these fields can be changed after the fact, but your 12-character collection name is permanently encoded in the blockchain and can not be changed.
If you want more information, or want to check out some of the most popular marketplaces, check out these links:

Leave a Reply